
BOUDREAUX’S COLLISION · REPAIR EDUCATION
Seam Sealer and Water Management
Seam sealer helps protect specified joints from moisture and other exposure. Removing a panel or disturbing a joint can require restoring the relevant sealing process. Exterior paint does not independently seal every seam beneath trim or within an opening.
Illustration: Seam Sealer and Water Management
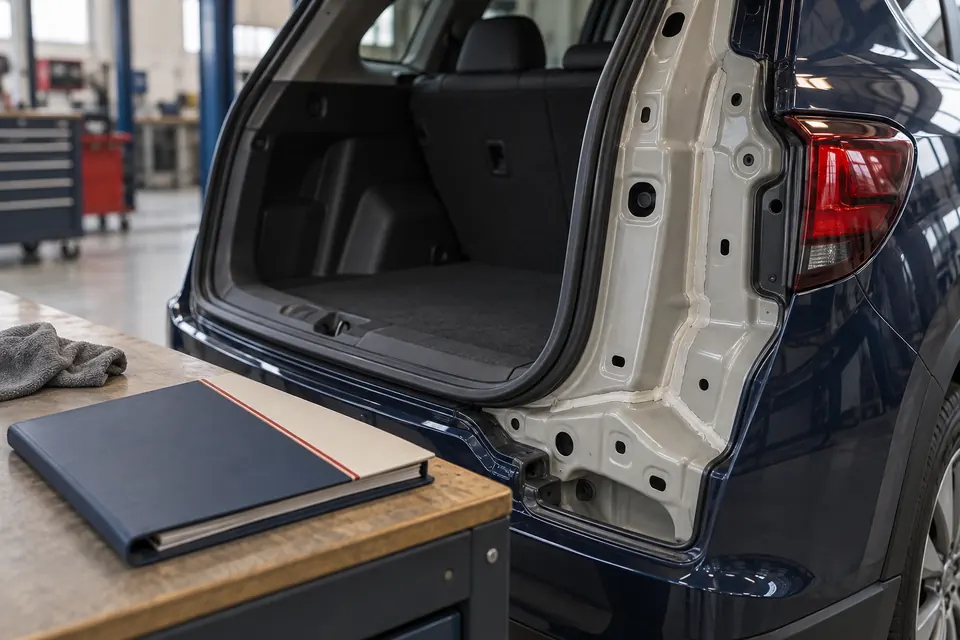
Generated educational illustration: body seam water management review. Not an actual customer repair, diagnostic result, staff member or Boudreaux’s facility.
What to Clarify for Your Vehicle
Ask which seams were disturbed, which material is specified and how preparation and application fit into the repair sequence. Some joints also relate to water drainage, so sealing must follow the correct design. More sealer is not automatically a better result if it blocks an intended drain.
A seam and a leak observation need to be identified precisely
Seam sealing is part of the protection plan at applicable joints and locations. A water observation near a repaired area is a separate assessment question: the entry path has to be established rather than assumed from the nearest visible seam.
Ask which seam or repaired location the estimate concerns and which requirement supports the treatment. Product selection and application context depend on the vehicle and repair information. This page does not provide a universal sealing method.
The outside paint appearance does not establish every concealed seam condition. The repair explanation should identify relevant work before an area is covered by trim or other components.
How to report water without assigning an unconfirmed cause
Suppose moisture appears near a repaired opening after rain. Record where it appeared and when, whether it followed rain or washing and whether it was present beforehand. Those observations give the shop a starting point.
They do not establish that the seam sealer is definitely the cause. The relevant path could require assessment of the opening, attachments, seals or another location. Ask how the shop will distinguish the observed wet area from the entry point.
Avoid applying household sealant or removing trim as an experiment. Altering the area may complicate the review of the original concern and is not an appropriate substitute for identifying the path.
Keep the repair explanation tied to the actual joint
- Which seam or location is included in the proposed work?
- What repair requirement identifies the treatment?
- What access is needed before reassembly?
- If there is a water concern, what path has been confirmed?
- What follow-up should be reported after delivery?
Keep the location description with your repair records. A later concern can then be discussed against the same affected area instead of treating every water-related symptom as one broad sealing problem.
Further repair information
I-CAR: corrosion-protection sequence
I-CAR: wind noise and water leaks
General background and product examples do not replace the applicable requirements for the actual vehicle and operation.
Related Guidance
Report a water concern without creating an improvised test
If water appears after delivery, identify the visible location, timing and circumstances already observed, such as rain or washing. Keep those observations separate from an assumed cause. A damp area near a repaired seam does not by itself diagnose the product, application or source of entry. A safe photograph can help communicate what you saw without exposing hidden parts.
Do not inject water, remove trim, peel sealer or add another product to reproduce or cure the concern. Ask the shop how it wants to assess the condition and what records are useful. Keep the final repair scope, any stage photographs and relevant care instructions together. A water-management review should identify the actual finding and appropriate next step; this educational page is not a leak-testing procedure or permission to alter a repaired joint or drainage feature.